 Subversion (svn) in SCM Workbench - User Guide
 Subversion (svn) in SCM Workbench - User Guide
User guide for the Source Control Mangement (SCM) Workbench.
User Guide Sections
Table of Contents
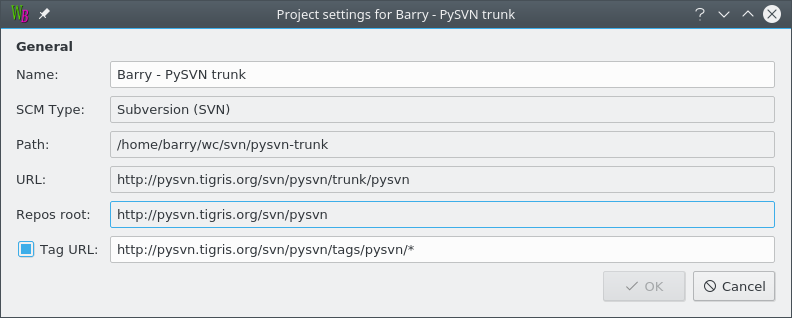
The name of the project can be changed by editing the "Name" field. You must pick a name that is not in use by another project.
SCM Workbench can optionally add the names of TAGs to the log history command output. Enable Tag URL and fill in the path to the tags URL for your repository.
The last element of the URL can be "*" to have Workbench substitute the name from the next element after trunk.
Note: SCM Workbench uses the revision of the TAG to work out where in the history list the TAG should be shown. This works very well if TAGs are created from the HEAD of trunk.
| Svn Information | Svn Actions |
Show the differences between the selected files and the checked out BASE version. In other words show the work you have done.
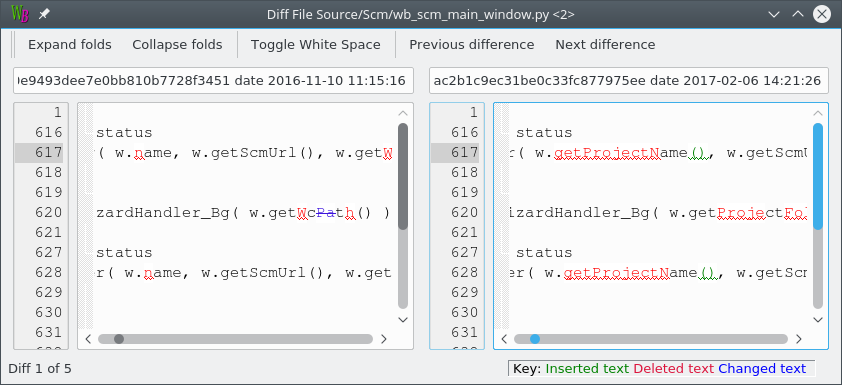
The differences windows shows changed lines and changes within a line.
By default the diff window has collapsed the folds to hide unmodified text.
Use the + and - buttons to toggle the collapsing.
The a.b button toggles the showing of white-space. Useful when looking for changes in TAB and SPACE characters.
The up and down arrow buttons move you backwards and forwards through each change in the diff window.
Show the differences between the selected files and the current version in the repository. In other words show the work other people have checked in against your version.
Show an annotated listing of the selected file showing the origin of each line in the file. For each line the author, date and revision is listed.
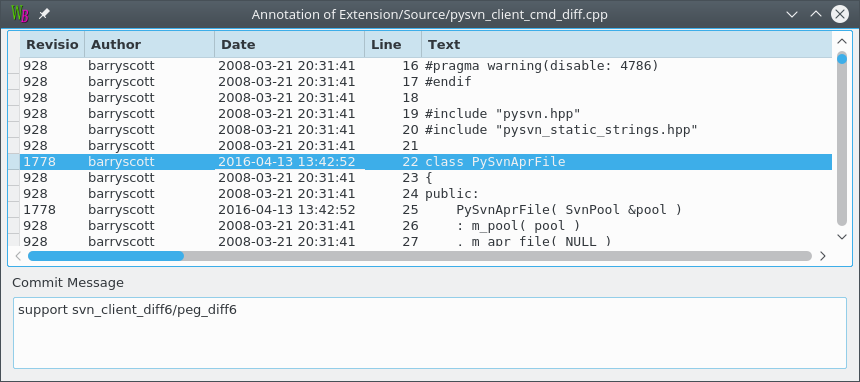
Use this command to discover when a line of interest was introduced into a file with the commit details.
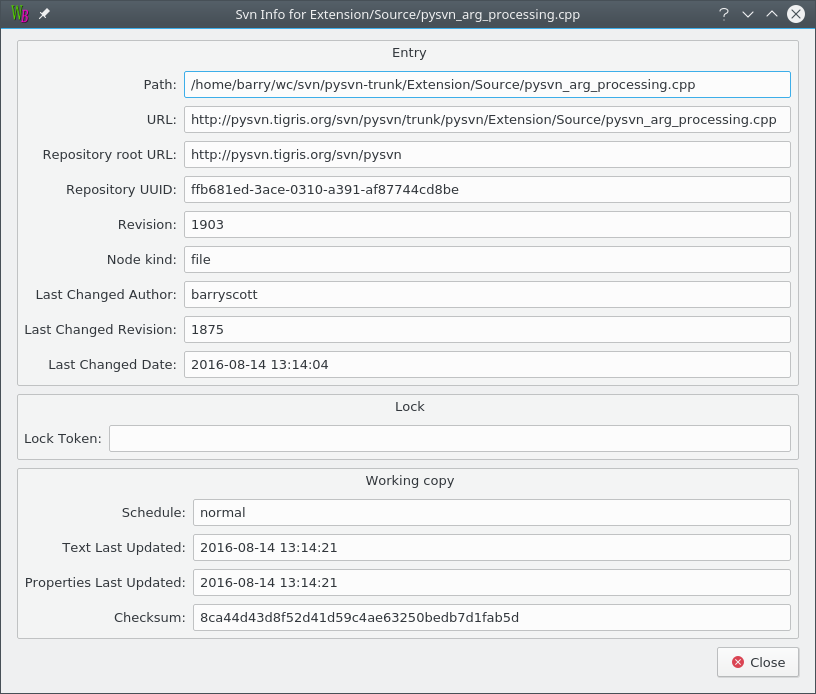
Show information about the selected files or folder. The information include details of the entry, any lock held and working copy details.
Show the Subversion properties of the selected files or folder.
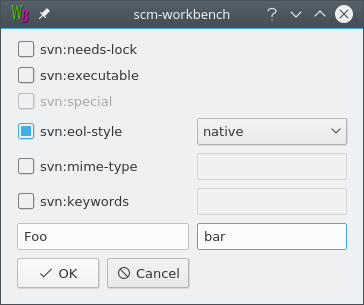
In the dialog box you can change the properties. The known Subversion properties are all listed and any user defined. Change the check boxes to add or remove a property. Fill in the bottom pair of text boxes to define your own property and value.
In the example above a user defined property named "foo" has been added with the value "bar".
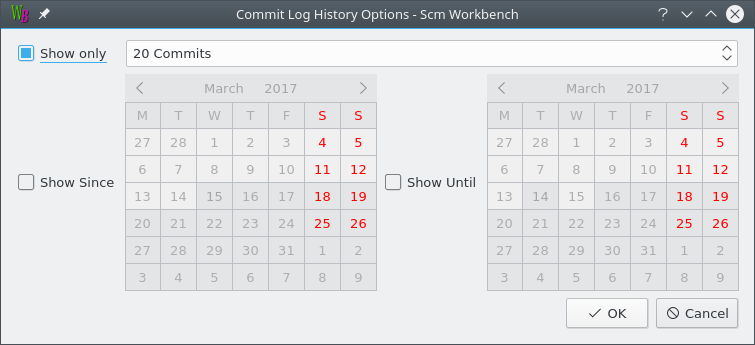
List the log history of the selected files or folder. You can choose to show all the log messages, the last few messages or the messages since a particular date.
The Commit Log window shows an abbreviated listing of all the commit messages. Select a commit message to display the full commit message and the changed paths.
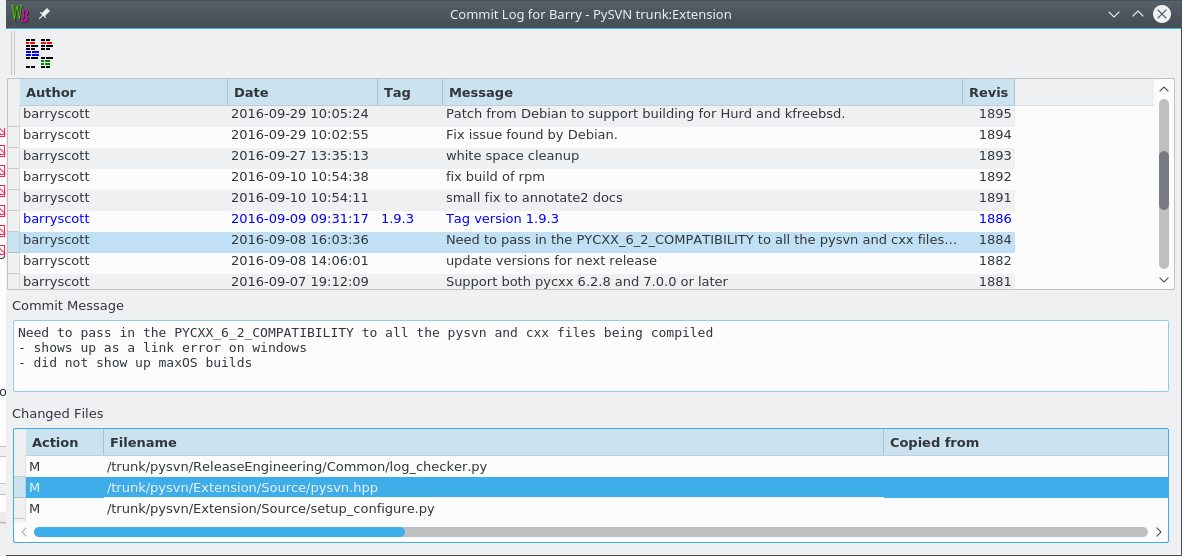
By selecting a single revision you can click the Diff button to view the differences between your copy of the file and the choosen revision.
By selecting two revisions you can click the Diff button to view the differences between the pair of selected revisitions.
Show the state of the local repository.
Schedule the selected files to be added to the repository.
The Rename command can work on controlled and uncontrolled files.
Pop up a dialog that allows you to change the name of the selected files and folders.
SCM Workbench can rename controlled files that have been added or modified.
Pop up a dialog that allows you to name a new directory.
The new directory is scheduler for addition to the repository.
The Revert command allows you to undo additions and modification to files.
Added files are left as uncontrolled files. Edits to modified files are lost after a Revert.
A dialog pops up to confirm the revertion.
The Delete command can work on controlled and uncontrolled files.
Uncontrolled files are deleted. Controlled files are scheduled for deletion for the repository.
A dialog pops up to confirm the deletion.
Tell Subversion that you have resolved the conflict.
Search the selected files or folder for changes to checkin and display the results in a Checkin Window.
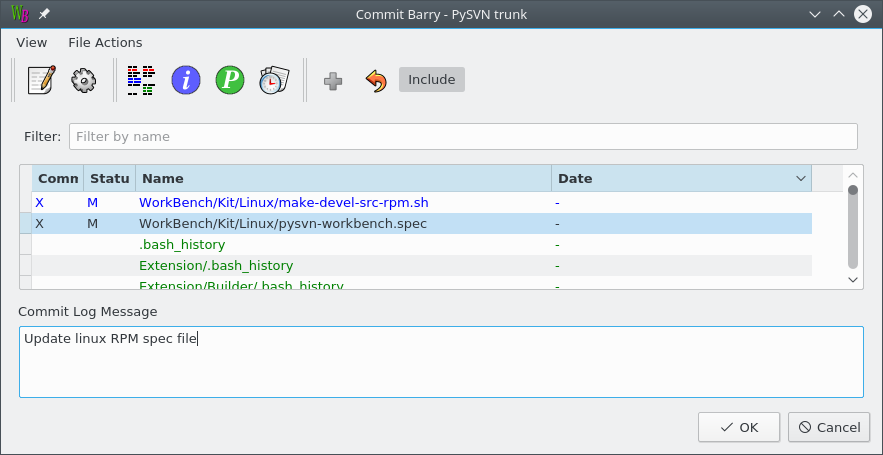
The Check in window allows you to commit the changes found.
You can also use commands from this window like Edit, Open, Diff and Log History to confirm that the changes are as you expect and help you write a suitable log message.
The commit will only be allowed if there are changes and the Commit Log Message is filled in.
Update the selected files or folder from the Subversion repository. The update will proceed in the background allowing you to do something else in Workbench.
The status bar will show the progress of the update.
Take out a lock against the selected files. The dialog box allows a lock message to be entered. If the lock is already held by another user and you wish to override the other user's lock selected the Force check box.
Revoke a lock against the selected files. The dialog box allows you to confirm that you wish to unlock the file. You can unlock a file that is locked by another user by selecting the Force check box.
Pop up a dialog that allows you to name a new file and choose a template to initialised it from.
The new file is scheduler for addition to the repository.
If SCM Workbench or a Subversion command did not complete it is possible to leave the working copy in a locked state (state L).
Use the CleanUp command to clean up the working copy, removing locks and resuming unfinished operations.
Create a tag of the current folder in the project's tags folder.
The tags folder can be configured via the Projects menu Project Settings… dialog.
Create a branch of the current folder in the project's branches folder.
The branches folder can be configured via the Projects menu Project Settings… dialog.
Search the selected Working Copy folder and all its sub-folders for locks and display any found in a new window.
The Working Copy Lock Report window allows you to Lock and Unlock the files as well as a set of other useful commands. Use the toolbar buttons or Context-Menu to access commands.
Search the selected folder and all its sub-folders in the repository for locks and display any found in a new window.
The Repository Lock Report window allows you to Lock and Unlock the files as well as a set of other useful commands. Use the toolbar buttons or Context-Menu to access commands.
Search the selected folder and all its sub-folders in the repository for changes and display any found in a new window.
By using the exclude and include buttons you can update a subset of the available changes.
Creates a list of all changes in and below the current folder that were made in the current branch.
An error message is displayed if the active project is not associated with a branch or if no
changes were made to that branch in or below the current folder.